
During my nutrition lecture I hosted yesterday, I baked a few recipes for my clients to try and these were all big hits. I literally just searched for these on Pinterest.
Interesting things to note:
- I made my own almond flour in my Vitamix blender by putting a little over a cup of almonds in there. Just had to be careful to make sure I didn’t put it up too high or else turn it into almond butter. 🙂
- I purchased coconut flour ages ago and finally found recipes to try them out on.
- This was the first time I purchased and used coconut sugar – I will definitely be using it again.
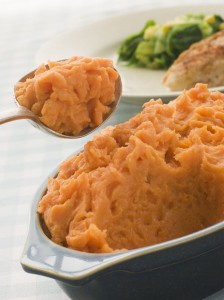
- The roasted banana and sweet potato mash tastes better the day after and tastes good cold OR steamy hot. I spoke to someone who said they used orange peel and orange juice instead of the banana to make “mashed” sweet potatoes.
All the attendants of the nutritional lecture walked away with a “Survival Guide” for the day before, day of, and day after a holiday celebration. It’s a great way to be held accountable, you can even email me afterwards to let me know how you did! If you’d like to purchase this 3 -day plan you may email me at FromFitToFigure@gmail.com for a price for this download. I’m always happy to share the knowledge!
In the meantime – enjoy these recipes!
Roasted Banana and Sweet Potato Mash – SkinnyMom.com
Ingredients
- • 3 medium sweet potatoes – cooked and peeled
- • 2 large bananas, ripe
- • 3/4 cup coconut milk
- • 1/2 teaspoon ground cinnamon
- • 1/4 teaspoon salt
Instructions
- Preheat oven to 375.
- Roast bananas for 10 minutes–then let cool.
- Mix together the potatoes, bananas, spices, coconut milk and mash until desired consistency.
- Serve immediately. (This is also great for baby food!)
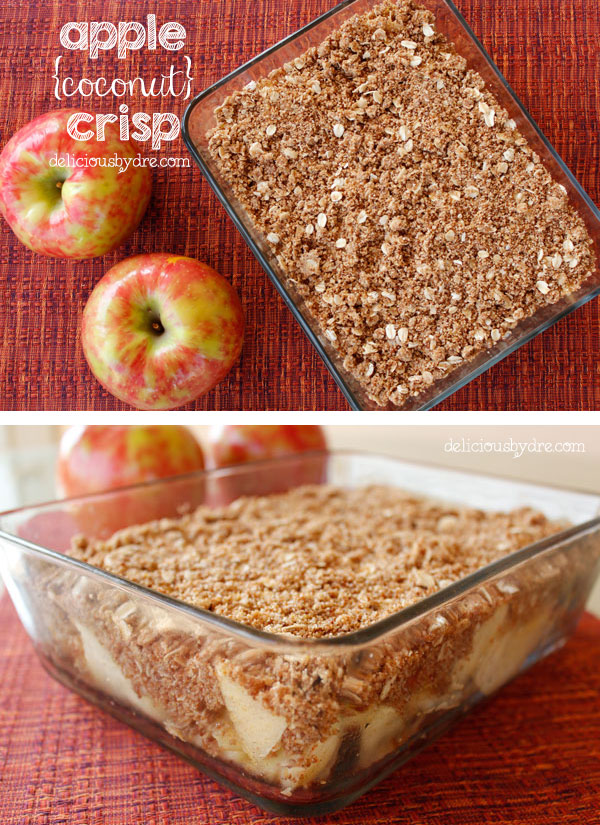
Apple Coconut Crisp – DeliciousByDre.com
Ingredients
- 2 lbs of apples (i used 2 honeycrisps–yep, one pound each…now that’s a real apple!)
- 1/2 cup (56 grams) organic coconut flour
- 1/2 cup (50 grams) almond flour (make your own!)
- 1/2 cup gluten free oats (*paleo substitution* use 1/2 c chopped pecans or slivered almonds)
- 2/3 cup coconut sugar
- 1/2 tsp cinnamon
- 1/2 tsp nutmeg
- 1/2 tsp all spice
- 1/4 tsp sea salt
- 1/3 cup organic coconut oil
- 2 tbsp organic flax seed
- 2 tbsp egg whites
- 1 tsp vanilla
- 1 tbsp agave (optional)
Instructions
- preheat oven to 375
- core and slice apples (i used an apple corer, peeler, slicer i found for 10 bucks!)
- toss apples with a light sprinkle of cinnamon before placing in 8×11 (ish) glass dish
- optional lightly drizzle 1 tbsp organic agave over the apples in the dish (gives a more caramelized taste/effect without using brown sugar!)
- separately, mix the egg whites and the flax seed together and let sit until needed
- add all remaining dry ingredients together in a bowl and mix up with a fork
- next add melted coconut oil and vanilla along with the egg white & flax mixture
- mix together with fork until it creates a nice crumble
- spread evenly across the apples in the dish until completely covered and put in the oven to bake for 30 minutes.
- once finished, let cool for at least another 30 minutes or so.
Notes
**i recommend covering this dish lightly and storing in the refrigerator (if there’s any left over!) sealing it tightly will cause the crumble to absorb the moisture of the apples and it will no longer be crispy!
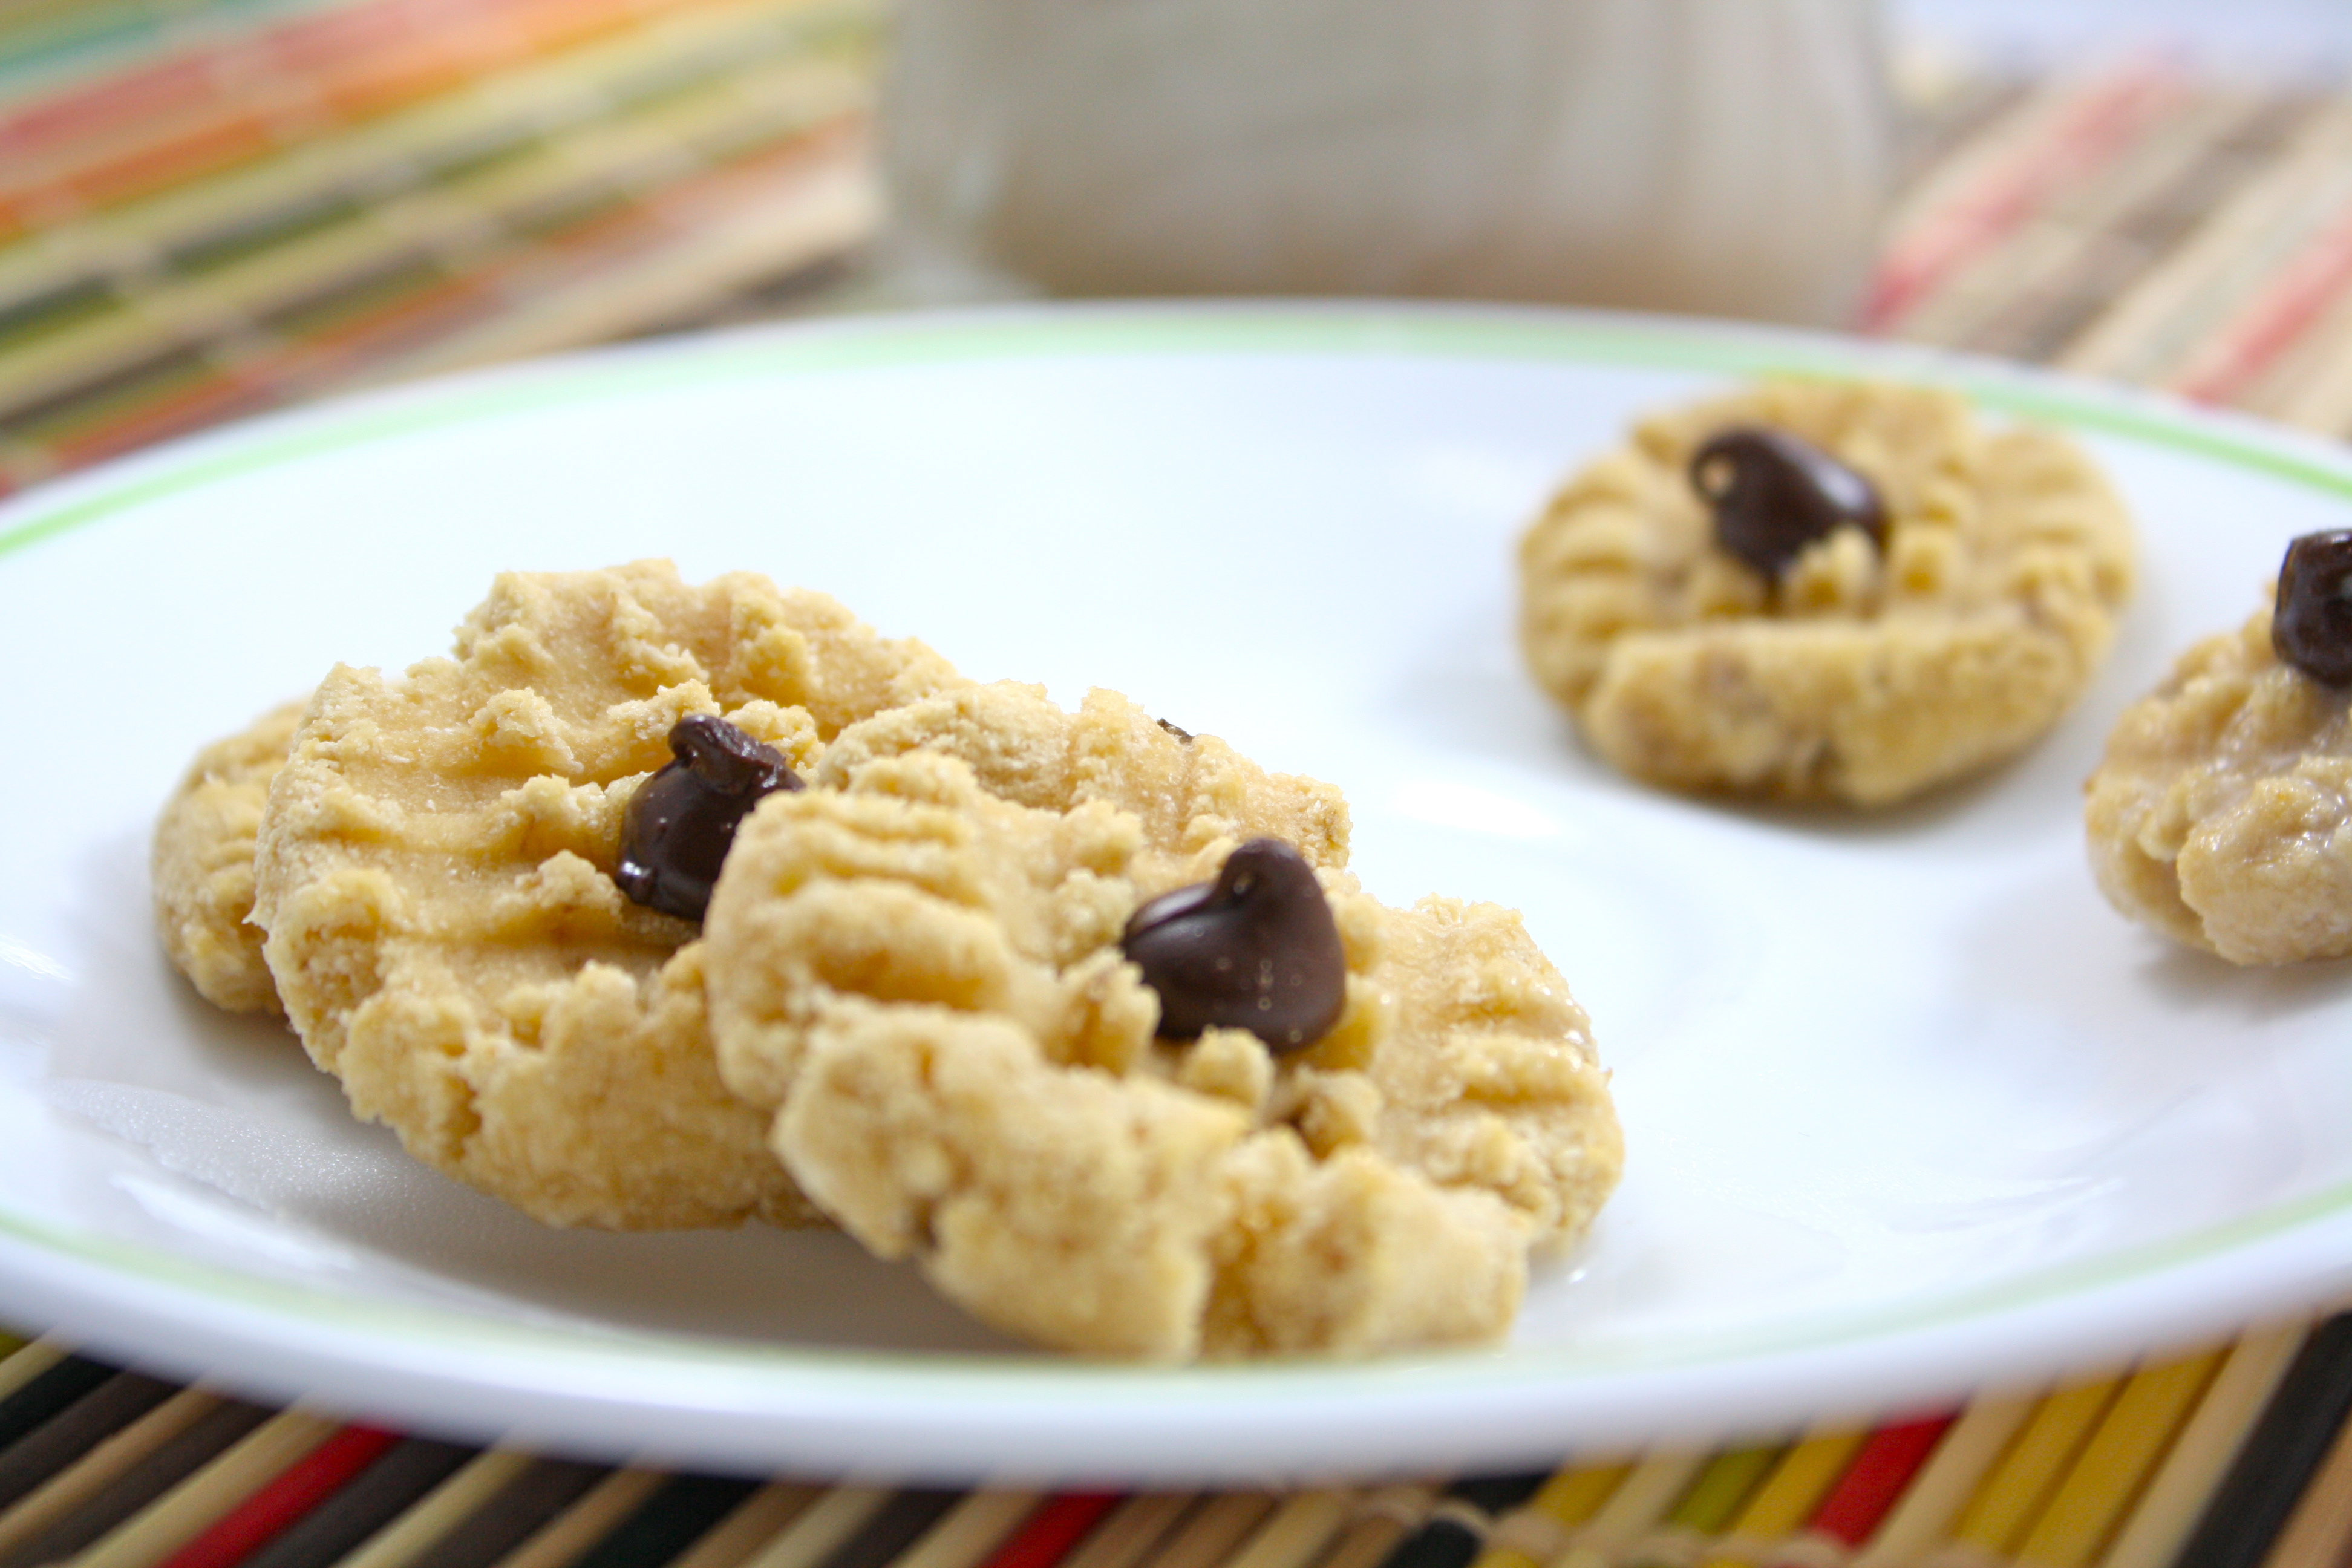
The World’s Healthiest Cookie – FoodieFiasco.com
Nutritional Info
*Update: There has been some question about the nutritional info, and for clarification, these having only 6 calories each is based upon a bite-sized cookie. If you only make 8 cookies out of this recipe to make them more traditional sized, they will have about 15 calories each.
Per bite based on 16 bites
Calories: 6 (about 8 or 9 with chocolate chips)
Fat: <0.5 grams
Ingredients
2 Tablespoon coconut flour
2 Tablespoon mashed banana or applesauce (I prefer banana. Personally, I think applesauce gives them too much of an apple-y taste. That’s just me.)
pinch salt
stevia or other sweetener, to taste
1/8 teaspoon baking powder
3 Tablespoon almond milk, or milk of choice
chocolate chips
Directions
Preheat oven to 350F.
In a small bowl, mix coconut flour, baking powder, and salt. Add in masked banana or applesauce and stir. Add in almond milk, one tablespoon at a time until fully incorporated. Stir in chocolate chips. Drop dough by tablespoon or teaspoon, depending on how big you want them, on a parchment lined baking sheet. I used a silicone mat. Flatten the dough into cookie shapes.Bake in the oven at 350F for 10 minutes. Let cool before scarfing them all down.
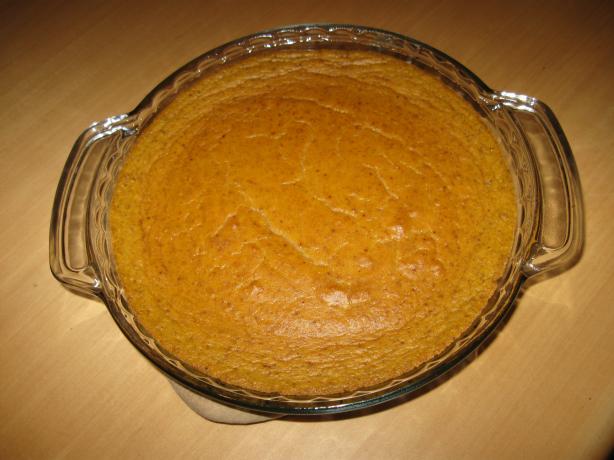
Crustless Pumpkin Pie – Food.com
Ingredients
- 1 1/2 cups fresh pumpkin or 1 (15 ounce) cans pumpkin puree
- 3 eggs
- 3/4 cup Splenda Sugar Blend for Baking ( see NOTE)
- 1/2 teaspoon salt
- 1 teaspoon cinnamon
- 1/4 teaspoon cloves or 1 3/4 teaspoons pumpkin pie spice
- 3/4 cup heavy cream or 3/4 cup light cream
Directions
- Mix all ingredients together.
- Pour into a well sprayed pie pan.
- Bake at 350′ for 30 to 40 minutes.
- NOTE: DO NOT use Splenda packets
Coconut Flour Chocolate Chip Banana Cookies – DitchtheWheat.com
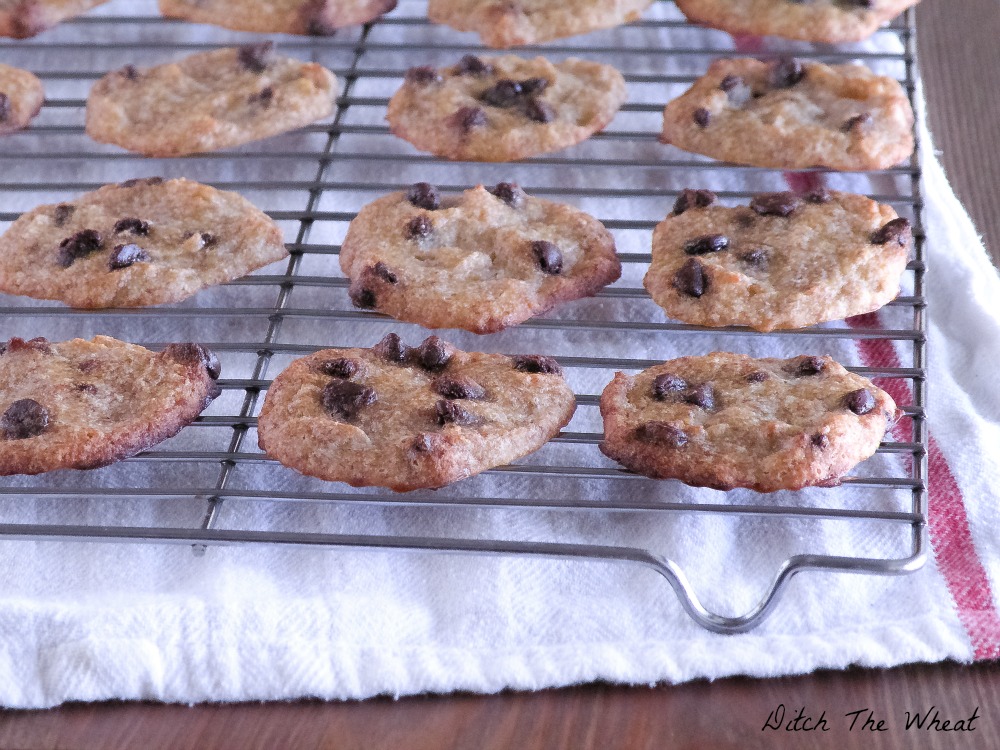
Yield: Makes 18 medium sized cookies.
Ingredients
- 1 fresh ripe large banana, (200 grams)
- 1 large egg
- 2 tbsp extra virgin coconut oil, (slightly warmed for easier mixing. Room temperature)
- 3 tbsp coconut flour, sifted
- 1 tbsp vanilla extract
- ½ tsp cream of tartar
- 1/8 tsp baking soda
- 1/8 tsp sea salt
- 1/8 -1/4 cup of chocolate chips
Instructions
- Preheat the oven to 325 F. Line a baking pan with parchment paper.
- Using a mixing machine combine the banana and the egg. Slowly add the coconut oil (coconut oil must not be hot or it will cook the egg. You just need to the coconut oil slightly warmed enough to mix smoothly). Add the coconut flour, vanilla, cream of tartar, baking soda and sea salt. Mix until smooth. Lastly add the chocolate chips.
- Using a spoon, drop 1 inch balls of batter onto the baking tray leaving space between each cookie. Use the back of the spoon to smooth the cookies to a flat cookie shape. *The cookies will not naturally flatten, you must do this manually.
- Bake for 40 minutes.


